The Secrets to Hosting a DIY Ice Cream Bar That Everyone Will Love
November 16, 2024

Hosting a DIY ice cream bar is a fun and delicious way to elevate any gathering, from birthday parties to summer barbecues. It allows guests to get creative and customize their treats according to their tastes, making for a memorable experience. In this article, we’ll explore everything you need to know to set up an ice cream bar that will leave your guests delighted and satisfied.
1. The Basics of Setting Up Your Ice Cream Bar
A DIY ice cream bar is all about personalization, so getting the basics right is key. Here are the essential components you need to consider:
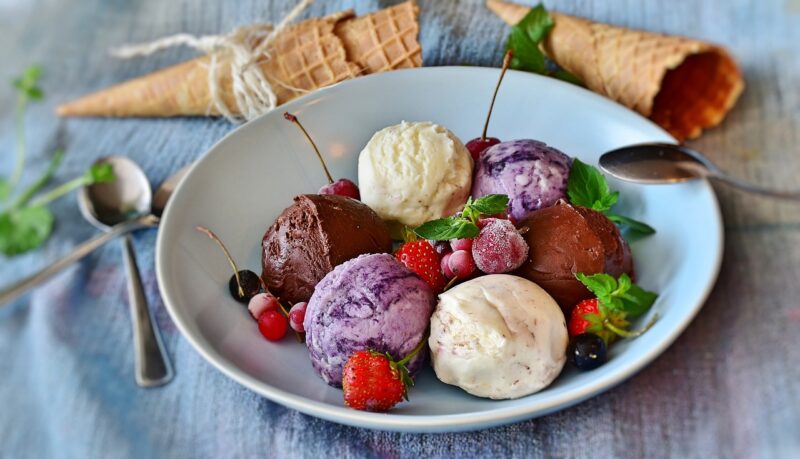
- Ice Cream Varieties: Offer a selection of flavors—classic options like vanilla, chocolate, and strawberry, alongside trendy options like salted caramel or matcha green tea. Aim for at least 3-5 flavors to cater to varied preferences.
- Toppings Galore: The fun doesn’t stop at the ice cream. Create a toppings station with everything from sprinkles and nuts to fresh fruits and sauces. Consider including:
- Chocolate syrup
- Caramel sauce
- Whipped cream
- Crushed cookies or candies
- Cherries
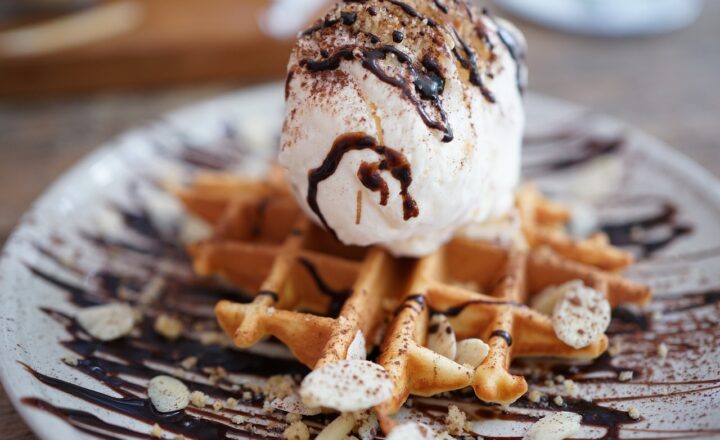
- Serving Options: Provide a range of serving options like waffle cones, cups, and bowls so guests can choose how they want to enjoy their creations. Don’t forget the spoons and napkins!
Once you have the basics covered, you can focus on making your ice cream bar visually appealing.
2. Creating a Decorative Station
A well-decorated ice cream bar can be the centerpiece of your event. Here are some tips to make it pop:
- Themed Decor: Choose a theme that matches your event—think tropical beach vibes with bright colors and palm leaves or a classic sundae bar with retro elements like vintage ice cream scoops and glass dishes.
- Table Layout: Use a large table or counter to set up your ice cream bar. Use colorful tablecloths, vases of fresh flowers, or themed decorations to elevate the look and make it inviting.
- Labeling Toppings: Consider using cute labels to identify the different toppings and flavors. This adds a personalized touch and helps guests navigate the station easily.
Remember to keep the ice cream chilled, especially if you’re hosting outdoors. A cooler filled with ice can help maintain the perfect temperature.
3. Fun Ideas to Enhance the Experience
Now that you have the basics and decor down, here are some fun ideas to enhance the ice cream bar experience:
- Flavor of the Month: Introduce a ‘flavor of the month’ that guests can try. Get creative—how about a lavender honey combo or a spicy chocolate? It adds an element of surprise and excitement!
- Make Your Own Sundae Contest: Engage your guests by hosting a make-your-own sundae contest. Set criteria (most creative sundae or the best use of toppings) and offer fun prizes for winners.
- Photo Opportunities: Create a photo booth or a designated area where guests can take pictures with their creations. This not only keeps the fun going but also results in sweet memories!
These ideas can help in making your DIY ice cream bar a hit at any event!
4. Tips for a Successful Ice Cream Bar
To ensure everything runs smoothly, here are some tips:
- Pre-scoop the Ice Cream: If you’re expecting a crowd, consider pre-scooping the ice cream and storing it in muffin tins or small bowls in the freezer before guests arrive. This allows for quick serving and prevents your ice cream from melting too fast.
- Keep it Clean: Set up a cleaning station nearby with wipes, napkins, or hand sanitizers to ensure guests can enjoy their ice cream without any mess. Smoothies and whipped cream can get sticky quickly!
- Dietary Considerations: Keep in mind that some of your guests may have dietary restrictions. Providing dairy-free ice cream or sugar-free options will make your bar inclusive for everyone.
Planning ahead and being mindful of your guests’ preferences will create an inviting atmosphere and ensure everyone has a good time.
5. Conclusion
Hosting a DIY ice cream bar is a delightful way to celebrate any occasion. When done right, it allows guests to fully engage with the experience and unleash their creativity. By following the steps outlined above, you can create a sweet destination that everyone will love and cherish. So gather your supplies, get those ice cream scoops ready, and watch your guests enjoy every delicious bite!
Remember, it’s not just about the ice cream; it’s about the memories you’ll create together. Happy ice cream making!


