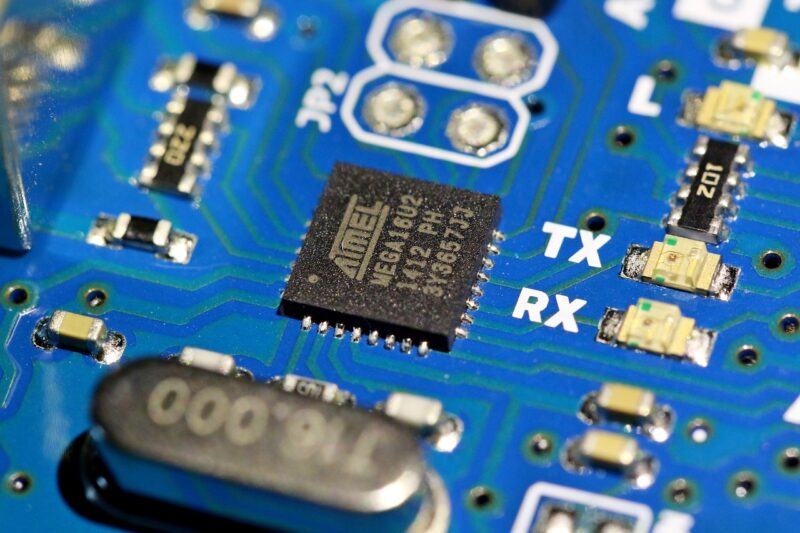
The Best Arduino Projects for Beginners: Fun and Easy Ideas to Try at Home
November 13, 2024

Arduino has revolutionized the way we approach electronics and DIY projects. With its open-source hardware and simple programming language, it offers an approachable platform for hobbyists and newcomers interested in tinkering and creating their own projects. If you’re just starting your journey with Arduino, you might be wondering where to begin. In this article, we’ll explore some of the best Arduino projects for beginners that are fun, educational, and easy to execute at home.
1. What is Arduino?
Before diving into projects, it’s important to understand what Arduino is. Arduino is an open-source electronics platform based on easy-to-use hardware and software. The Arduino board can read inputs from various sensors, control motors, lights, and much more—allowing you to create interactive objects and environments.
These projects can help beginners grasp the fundamental concepts of electronics, coding, and prototyping.
2. Necessary Tools and Equipment
To get started with your Arduino projects, you will need a few essential tools and components:
- Arduino Board: The most common type is the Arduino Uno, which is perfect for beginners.
- USB Cable: Used for connecting your board to a computer for programming.
- Basic Components: LEDs, resistors, breadboard, jumper wires, and various sensors (temperature, motion, etc.).
- Arduino IDE: Free software where you can write, upload, and test your sketches (programs).
- Multimeter: Useful for troubleshooting and measuring voltage and current if needed.
Now that you have the basics down, let’s look at some easy projects to get started!
3. Top Arduino Projects for Beginners
a. Blinking LED
The blinking LED project is the classic “Hello, World!” of Arduino. It’s a simple yet effective way to learn about basic coding and circuitry.
Materials Needed:
– 1x Arduino board (Uno)
– 1x LED
– 1x 220-ohm resistor
– Breadboard and jumper wires
Instructions:
1. Connect the LED to the Arduino: the longer leg (anode) connects to a digital pin (e.g. pin 9), and the shorter leg (cathode) to the ground through a 220-ohm resistor.
2. Open the Arduino IDE and write the code:
“`
void setup() {
pinMode(9, OUTPUT);
}
void loop() {
digitalWrite(9, HIGH);
delay(1000);
digitalWrite(9, LOW);
delay(1000);
}
“`
3. Upload the code to the board and watch your LED blink!
b. Temperature Monitor
Creating a temperature monitor allows you to visualize data from a temperature sensor, making it an interesting introduction to working with sensors and displays.
Materials Needed:
– 1x Arduino Uno
– 1x LM35 temperature sensor
– 1x LCD display (16×2)
– Jumper wires
Instructions:
1. Connect the LM35 sensor to an analog pin (e.g. A0), and the LCD to your Arduino.
2. Use the following code, which reads the temperature and displays it:
“`
#include
LiquidCrystal lcd(12, 11, 5, 4, 3, 2);
void setup() {
lcd.begin(16, 2);
}
void loop() {
int analogValue = analogRead(A0);
float temperature = analogValue * (5.0 / 1023.0) * 100;
lcd.setCursor(0, 0);
lcd.print(“Temp: “);
lcd.print(temperature);
lcd.print(” C”);
delay(1000);
}
“`
3. After uploading, your LCD will display the current temperature.
c. Motion Detection Alarm
Using a PIR (Passive Infrared) sensor, you can create a motion detector that triggers an alarm or notification.
Materials Needed:
– 1x Arduino Uno
– 1x PIR motion sensor
– 1x Buzzer or LED
– Jumper wires
Instructions:
1. Connect the PIR sensor’s output pin to a digital pin (e.g., pin 7) on the Arduino, the ground to ground, and the power to 5V.
2. Connect the buzzer or LED to another digital pin.
3. Write the following code to monitor motion:
“`
int led = 8;
int motionSensor = 7;
void setup() {
pinMode(led, OUTPUT);
pinMode(motionSensor, INPUT);
}
void loop() {
int state = digitalRead(motionSensor);
if (state == HIGH) {
digitalWrite(led, HIGH);
delay(1000);
} else {
digitalWrite(led, LOW);
}
}
“`
4. Upload the code and test by walking in front of the sensor.
d. Simple RGB LED Controller
Create a project that can cycle through different colors using an RGB LED, teaching you about PWM (Pulse Width Modulation).
Materials Needed:
– 1x RGB LED
– 3x 220-ohm resistors
– Jumper wires
– Arduino Uno
Instructions:
1. Connect the RGB LED pins to three PWM pins on the Arduino, each through a resistor.
2. Use the following code:
“`
void setup() {
pinMode(9, OUTPUT);
pinMode(10, OUTPUT);
pinMode(11, OUTPUT);
}
void loop() {
for (int i = 0; i < 256; i++) {
analogWrite(9, i);
analogWrite(10, 255 – i);
delay(10);
}
}
“`
3. This code will transition colors smoothly as RGB change.
4. Additional Resources to Explore
As you become comfortable with these beginner projects, consider exploring more advanced resources:
– Arduino Project Hub: A plethora of project ideas ranging from beginner to advanced.
– YouTube Tutorials: Numerous creators provide step-by-step guides for different projects.
– Books and Guides: Books like “Getting Started with Arduino” provide deeper insights and project ideas.
Conclusion
Arduino is an excellent entry point for anyone interested in electronics, DIY, and programming. These beginner projects provide a foundation for understanding fundamental concepts while allowing creativity to flourish. Embrace the process of learning through making, and you will discover endless possibilities with Arduino.
Whether you’re looking to create something fun or useful, there’s a wide array of projects waiting for you. So, gather your components, ignite your imagination, and start building today!


