Tailoring clothes at home can feel intimidating at first, but with the right tools, techniques, and a bit of practice, you can achieve a perfect fit every time. Whether you have purchased a new outfit that doesn’t quite fit perfectly or you want to adjust your old favorites, tailoring can save you money and make your wardrobe ten times more enjoyable to wear.
1. The Benefits of Tailoring Your Clothes
Before diving into the actual techniques of tailoring, it’s essential to understand why tailoring is beneficial:
- Cost-Effective: Instead of spending money on new clothes, adjusting what you already have can save you both money and time in the long run.
- Personal Touch: Tailoring allows you to express your unique style and fit preferences by creating custom adjustments that reflect who you are.
- Sustainability: By choosing to tailor instead of discard, you’re extending the life of garments and reducing clothing waste in landfills.
Tailoring your clothing can not only enhance your style but also help you wear clothes that genuinely feel comfortable and look polished.
2. Essential Tools for Tailoring at Home
To get started with home tailoring, gathering the right tools is crucial. Here are some essential items you’ll need:
- Sewing Machine: A basic sewing machine makes it easier to sew hems and seams effectively. If you’re a beginner, look for machines with straightforward settings and tutorials.
- Measuring Tape: Accurate measurements are crucial for tailoring. Use a flexible measuring tape to get precise stats on your dimensions and fabric length.
- Fabric Scissors: A good pair of fabric scissors will ensure clean cuts without fraying edges, making it easier to sew later.
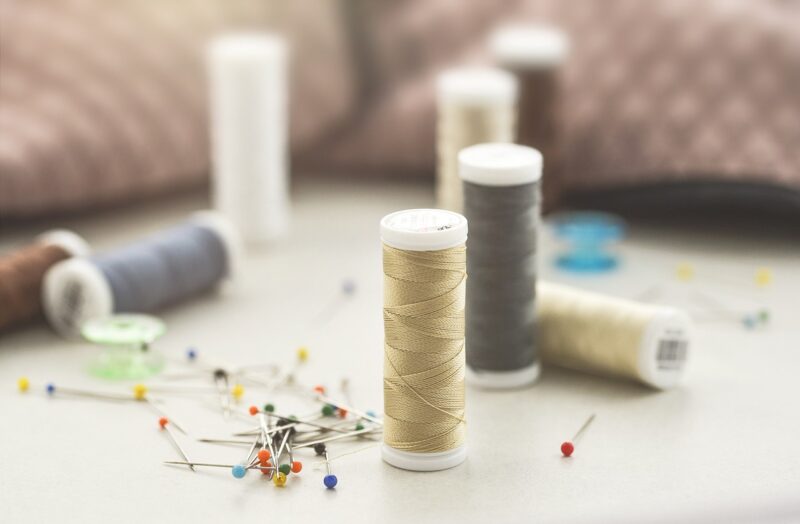
- Needles and Thread: Invest in various needle sizes and matching threads for different fabric types and colors.
- Pins and Clips: These are essential for holding fabric in place while you sew, ensuring accuracy in your adjustments.
These tools will help you perform basic tailoring tasks efficiently and effectively.
3. How to Measure Yourself for Tailoring
Accurate measurements are key to achieving the perfect fit. Here are some common measurements you will need:
- Chest: Wrap the tape around the widest part of your chest while keeping it snug but not tight.
- Waist: Measure around your natural waist, above your hips.
- Hips: Measure the widest part around your hips and buttocks.
- Inseam: Measure from the top of your inner thigh to your desired pant length.
- Sleeve Length: With your arm slightly bent, measure from the center back of your neck, over the shoulder, and down to your wrist.
Taking these measurements will provide you with a solid foundation for all your tailoring tasks.
4. Common Tailoring Techniques
Here are some straightforward tailoring techniques that you can use on most garments:
A. Hemming Pants
Hemming is one of the most common tailoring jobs. Here’s how to do it:
- Put on the pants and determine the desired length. Use pins to hold the fabric in place.
- Remove the pants and measure the distance from the bottom hem to the pinned spot. This is your new length.
- Cut off any excess fabric, leaving an allowance for the hem (about 1 inch).
- Fold the edge over and press with an iron. Then, sew the hem with a straight stitch or a zig-zag stitch to finish the edges.
B. Taking in the Waist of a Dress or Pants
Follow these steps to take in the waistline:
- Try on the garment and pin the sides where you wish to take it in. This should be done for both sides for balance.
- Mark the pinned areas with chalk or a fabric marker, and remove the pins.
- Stitch along the marked lines, tapering towards the original seam to prevent it from being too tight.
- Trim any excess fabric and finish the seams to prevent fraying.
C. Shortening Sleeves
Shortening sleeves is a great way to make a long-sleeved shirt or coat fit better:
- Try on the garment and determine how much you want to shorten the sleeves. Pin them in place.
- Remove the garment and measure down from the seam to the end of the sleeve to determine how much to cut off.
- Cut off the excess fabric, leaving about 1 inch for the hem.
- Fold and press the hem, then sew it in place to finish the sleeve.
These three techniques are just the tip of the iceberg when it comes to tailoring, but they will help you get started and gain confidence in your abilities.
5. Final Tips for Successful Home Tailoring
– Start small: If you are a beginner, begin with simpler tasks like adjusting hems or taking in edges. Gradually progress to more complex tailoring projects.
– Practice your technique: The more you sew, the better you will become. Practice makes perfect, so take your time to develop your skills.
– Don’t rush the process: Tailoring can sometimes take longer than expected. Be patient and give yourself time to ensure quality work.
– Use online resources: Plenty of tutorials and videos online can help guide you through specific techniques.
With these tips and techniques in your arsenal, you’re well on your way to understanding how to tailor clothes at home successfully!
Conclusion
Tailoring clothes is a valuable skill that can elevate your wardrobe. By transforming ill-fitting garments into perfectly customized pieces, you not only save money but also enjoy a sustainable approach to fashion. With the essential skills, tools, and confidence you need, the possibilities for creating a stylish, well-tailored wardrobe are endless. So roll up your sleeves, gather your materials, and tailor your way to a more confident you!


