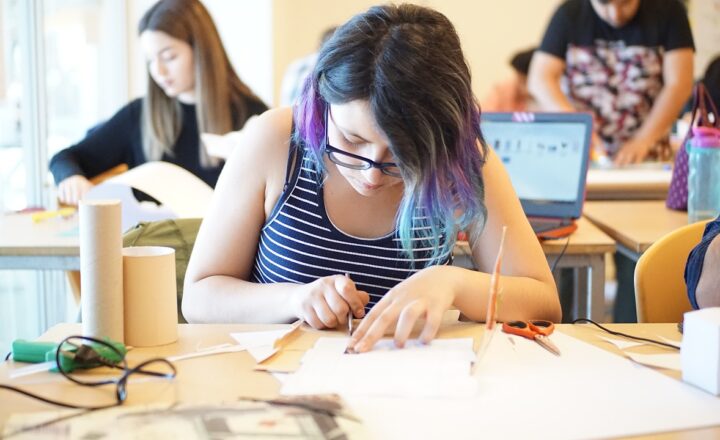
Celebrating new life is a heartwarming tradition, and what better way to show love and support to new parents than with personalized, handmade cards? Whether you’re attending a baby shower or celebrating the arrival of a newborn, creating custom cards can add a special touch to your gift. In this article, we will guide you through the step-by-step process of making beautiful cards for baby showers and new parents, covering essential techniques, design ideas, and materials you’ll need to get started.
1. Understanding the Importance of Handmade Cards
Handmade cards convey a personal touch that store-bought options often lack. They show that you’ve invested time and effort into crafting a special message for the recipient. Here are a few reasons why handmade cards are cherished:
- Personal Connection: A handmade card reflects thoughtfulness, making the recipient feel truly appreciated and loved.
- Unique Designs: Each card can be custom-designed to fit the theme of the baby shower or the personality of the new parents, creating a memorable keepsake.
- Creative Expression: Making cards allows you to express your creativity and use a variety of materials and techniques.
Now, let’s dive into how to create beautiful cards for this lovely occasion!
2. Essential Materials for Card Making
Before you start, gather the following essential materials to bring your card-making ideas to life:
- Cardstock or specialty paper in various colors and textures.
- Scissors or a cutting trimmer for precise cuts.
- Adhesive (glue sticks, double-sided tape, or foam adhesive for 3D effects).
- Decorative elements such as stickers, washi tape, ribbons, and embellishments.
- Markers, colored pencils, or calligraphy pens for personal messages.
- Stamps and ink pads for adding beautiful designs and patterns.
Feel free to be creative—combine different textures and colors for a beautiful outcome.
3. Step-by-Step Card-Making Process
Let’s proceed with the step-by-step process of making your cards:
Step 1: Choose Your Card Size
Decide whether you want to create standard-sized cards (such as 4″ x 6″ or 5″ x 7″) or custom dimensions. For baby shower cards, folding a piece of cardstock in half to create a simple invitation-style card is popular.
Step 2: Create Your Card Base
Cut your cardstock to the desired size, ensuring your cuts are straight. Fold the cardstock in half neatly to form the card base.
Step 3: Design the Front Cover
The design of the front cover is crucial, as it sets the tone for your card. Here are some ideas for themes and phrases:
- Baby Animals: Using stickers or illustrations of baby animals with phrases like “Welcome Little One!” or “Congrats on Your New Bundle of Joy!”
- Colors and Patterns: Pastels are often popular for baby cards. Try polka dots, stripes, or floral designs, incorporating them with stamped elements or simple drawings.
- Personalized Family Elements: Include the baby’s initials or a family name for a personal touch. You can ask for the baby’s name if you know it before the event!
Use a mix of decorative elements, layering papers, or even fabric for additional depth and interest.
Step 4: Craft the Inner Message
The inner message can be heartfelt, congratulatory, or humorous. Here are some suggestions to inspire you:
- Heartfelt Messages: “Wishing you all the joy your new arrival brings!” or “May your journey as new parents be filled with love and laughter!”
- Humorous Notes: “Welcome to the world of sleepless nights and endless joy!”
- Quotes: Use inspiring quotes related to parenthood, like “A new baby is like the beginning of all things—wonder, hope, a dream of possibilities.”
Write or print your message inside the card using neat handwriting or printed lettering to keep it legible.
Step 5: Embellish and Finish Your Card
Once the front and inside are complete, add final touches like more stickers, washi tape borders, or even small charms attached with ribbons. Ensure all elements are securely glued and check if any additional embellishments are necessary.
Step 6: Sign Your Name
Don’t forget to add your name or a brief note from you on the card so the new parents know who it’s from. A signature can be handwritten for a personal touch or printed in a beautiful font.
4. Card Ideas for Specific Occasions
Different occasions may call for various themes or styles of cards. Here are a few ideas:
Baby Shower Cards
– **Games & Activities:** Include cards that mention games or fun activities at the shower.
– **Wishes for the Baby:** Have a section for guests to write wishes, creating a memorable keepsake.
Welcome Home Cards
– **Cozy Themes:** Incorporate soft colors, cuddly animals, and phrases like “Welcome Home!” or “A Star is Born!”
– **Blank Spaces for Parent Messages:** Allow parents to write their thoughts or a special note to the baby.
5. Final Thoughts
Creating handmade cards for baby showers and new parents is a fulfilling and creative project. The effort you put into your card-making will undoubtedly bring smiles and joy, as it synchronizes with the excitement of welcoming new life. Remember, each card is an opportunity for personal expression, and they become cherished keepsakes for the new family. Happy crafting!
Getting Started with Card Making
If you’re excited about starting your card-making journey, gather your supplies, set up a comfortable workspace, and let your creativity flow. You’ll soon discover the joy and satisfaction of designing one-of-a-kind cards that celebrate life’s remarkable milestones. Be sure to invite friends to join you; card-making is a fun, social activity that can lead to beautiful creations!


