How to Make Beautiful Wedding Cards That Capture the Special Day
November 15, 2024

Creating beautiful wedding cards is a cherished art that allows couples to express their unique love story and invite friends and family to share in their special day. Handmade cards can add a personal touch that store-bought alternatives simply cannot match. Whether you’re preparing invitations, thank you cards, or save-the-dates, this guide will walk you through the process of designing stunning wedding cards that capture the essence of your celebration.
1. Getting Inspired: Finding Your Style
Before starting the design process, it’s crucial to have a clear vision of what you want. Start by gathering inspiration from various sources:
- Pinterest: Create a board to collect images of wedding cards that resonate with you. Look for color palettes, layouts, and styles that appeal to you.
- Magazine Clippings: Browse through wedding magazines and cut out designs that catch your eye.
- Nature and Art: Inspiration can come from the world around you. Observe colors and designs in nature, art, and other decor that could translate beautifully into your cards.
Once you have a collection of ideas, you can start to identify common themes and elements you’d like to incorporate into your wedding cards.
2. Selecting the Right Materials
The materials you choose will significantly impact the final look and feel of your wedding cards. Here’s a breakdown of essential supplies you will need:
- Cardstock: Choose a high-quality cardstock that suits your design. Consider textured or patterned paper for added dimension.
- Envelopes: Make sure your envelopes match or complement your card design. Options include kraft paper, colorful options, or even clear envelopes for a modern touch.
- Adhesives and Tools: Depending on your design, you might need glue, double-sided tape, scissors, a paper cutter, and decorative-edge scissors.
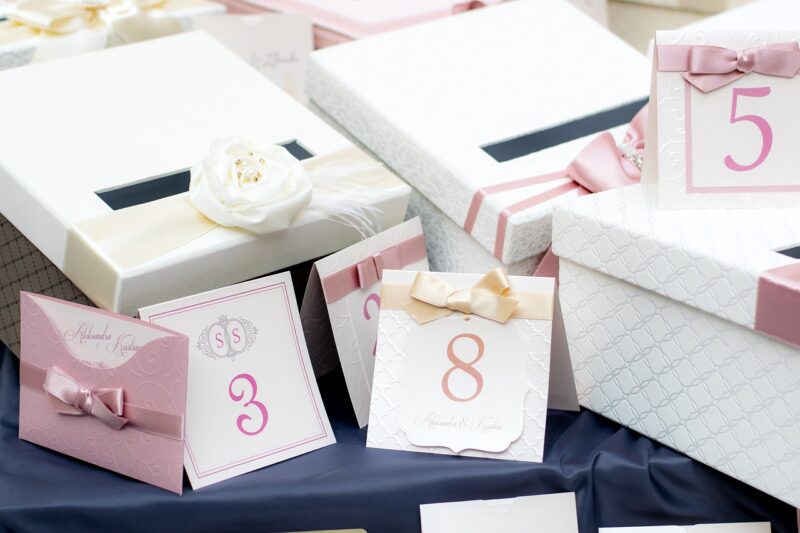
- Decorative Elements: Consider adding embellishments like ribbons, lace, stickers, or pressed flowers to enhance the aesthetic of your cards.
Selecting the right materials ensures that your wedding cards reflect the quality and elegance of the event itself.
3. Designing Your Cards
Now comes the fun part—creating your card design. Here are some tips to guide you:
- Choose a Color Scheme: Select colors that complement your wedding theme. Soft pastels, bold hues, or classic black and white can all be beautiful choices depending on your style.
- Select Fonts Wisely: Typography plays a crucial role in your card’s design. Use elegant scripts for headings and clean fonts for the body text to enhance readability.
- Create a Layout: Plan how the information will be organized on your card. Balance images, text, and empty space strategically to avoid clutter.
- Add Personal Touches: Incorporate elements that reflect your relationship, such as a favorite quote, a shared hobby, or an illustration that symbolizes your love story.
Using software like Adobe Illustrator or Canva can help you visualize your designs and make adjustments comfortably.
4. Printing Your Wedding Cards
Once your design is finalized, it’s time to print. You have a few options to consider:
- Home Printing: If you’re printing a small quantity, ensure your printer can handle cardstock and perform a test print to check colors and settings.
- Professional Printing Services: For a higher quality finish, consider using a local print shop or an online printing service. They offer various finishes, such as matte or glossy, and can advise on cardstock options.
- DIY Techniques: For a unique touch, try letterpress or screen printing if you have access to the necessary tools. These methods can add an artisanal appeal to your invites.
When printing, remember to order extra cards for last-minute additions and potential mistakes.
5. Final Touches: Addressing and Sending Out Cards
The last step in creating your beautiful wedding cards is addressing them and preparing them for mailing:
- Addressing Envelopes: Handwritten addresses add a personal touch, but if your handwriting isn’t the best, consider using elegant address labels.
- Add a Personal Note: Including a handwritten note inside each card can further personalize your message.
- Send Early: Plan to send your wedding cards at least 6-8 weeks before the wedding date to allow guests ample time to respond and plan.
After your cards are sent, share your excitement on social media or through a wedding website, inviting guests to learn more about your story and the big day ahead.
Conclusion
Designing and creating beautiful wedding cards is an enjoyable process that allows you to share your love story with those who mean the most to you. By following the steps outlined in this guide, from finding inspiration to addressing your envelopes, you will create wedding cards that are as unique and special as your relationship. Take your time, enjoy the process, and remember: the cards you create will set the tone for the upcoming celebration of your love!
Creating wedding cards that truly capture the essence of your special day can be an enjoyable and fulfilling endeavor. With a bit of creativity and care, you can invite your loved ones in a manner that reflects your unique story and style. Happy crafting!


