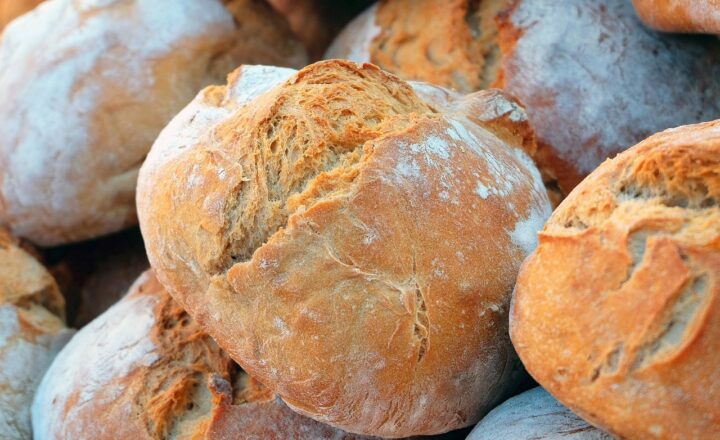
Baking sourdough bread at home is a rewarding experience that yields delicious, crusty loaves with a unique tangy flavor. While it may seem intimidating at first, with patience and the right techniques, anyone can master the art of sourdough baking. Here’s a beginner’s guide to help you bake the perfect sourdough bread.
1. Understanding Sourdough Basics
Sourdough bread relies on natural fermentation, using a live culture called a starter, rather than commercial yeast. This gives sourdough its distinct flavor and texture. The starter is a mix of flour and water that captures wild yeast and bacteria, allowing the bread to rise naturally.
- Tip: Patience is key; sourdough takes longer to rise compared to bread made with commercial yeast.
2. Making Your Sourdough Starter
The starter is the foundation of sourdough bread. Here’s how to create it:
- Day 1: Mix equal parts flour and water (about 1/2 cup each) in a jar. Cover loosely and leave at room temperature.
- Days 2-5: Discard half the starter each day and feed it with fresh flour and water. By day 5, it should be bubbly and active.
- Tip: Your starter is ready when it doubles in size within 4-6 hours after feeding and has a slightly sour aroma.
3. Gather Your Ingredients and Equipment
For basic sourdough, you’ll need just a few ingredients:
- Ingredients: Active sourdough starter, bread flour, water, and salt.
- Equipment: Mixing bowls, a scale, a Dutch oven (for baking), and a dough scraper.
- Tip: Using a kitchen scale helps you measure ingredients precisely, crucial for successful sourdough baking.
4. Mixing and Autolyse
Autolyse is a step where flour and water are mixed and allowed to rest. This helps develop gluten, giving the dough structure.
- Step: Mix the flour and water in a bowl until combined. Cover and let it rest for 30 minutes.
5. Adding Starter and Salt
After the autolyse, add the sourdough starter and salt to the dough. Knead or fold the dough to incorporate these ingredients.
- Tip: Folding (rather than kneading) can be gentler and helps maintain the dough’s structure.
6. Bulk Fermentation and Folding
Bulk fermentation is when the dough rises and develops flavor. During this time, fold the dough every 30 minutes for the first two hours.
- Step: Let the dough rest in a warm spot for 3-4 hours, or until it has expanded by about 50%.
7. Shaping the Dough
After fermentation, gently shape the dough into a round or oval loaf. This step builds surface tension, giving the loaf structure.
- Tip: Use a dough scraper to handle the dough gently without deflating it.
8. Proofing
Proofing is the final rise before baking. For best results, place the shaped dough in a proofing basket and refrigerate overnight (cold-proofing), which enhances flavor.
- Tip: Cold-proofing allows the dough to develop a deeper sour flavor.
9. Scoring and Baking
Scoring the dough creates an opening for steam to escape, allowing the bread to expand in the oven. Bake in a preheated Dutch oven for a crispy crust.
- Step: Preheat the oven to 450°F (230°C) with the Dutch oven inside. Score the dough with a sharp blade and place it in the Dutch oven.
- Bake: Bake covered for 20 minutes, then uncover and bake for another 20-25 minutes until golden brown.
10. Letting the Bread Cool
After baking, let the sourdough loaf cool on a wire rack for at least an hour. This allows the crumb to set and enhances the flavor.
- Tip: Cutting into the bread too soon can make the interior gummy. Patience pays off with sourdough!
Conclusion
Baking sourdough is both an art and a science, and with practice, you can perfect your technique. By understanding each step and being patient, you’ll soon be able to create delicious, tangy, and beautifully crusty sourdough bread at home. Enjoy the process and happy baking!


