The Best DIY Hacks for Restoring Old Furniture and Creating Unique Statement Pieces
November 16, 2024

Restoring old furniture can be a rewarding endeavor that breathes new life into forgotten pieces while saving money and reducing waste. Whether you have inherited a cherished family heirloom or stumbled upon a vintage find at a yard sale, DIY hacks can transform worn or outdated furniture into stunning statement pieces that elevate your home decor. In this guide, we will delve into tips, tricks, and step-by-step methods for effectively restoring old furniture.
1. Evaluating Your Piece: The First Step in Restoration
Before diving into restoration, it’s essential to evaluate the condition of your furniture. Look for signs of wear, damage, and the type of materials used in the piece. Here are key factors to consider:
- Wood Quality: Assess if the wood is solid or composite. Real wood is easier to refinish, while composite might need more work like painting or veneer replacement.
- Structural Integrity: Make sure the frame is stable. Check for loose joints or broken parts that need repairing before aesthetic changes.
- Hardware Inspection: Evaluate the knobs, hinges, and other hardware. Replacing outdated or damaged hardware could enhance the piece dramatically.
Taking the time to evaluate your furniture will inform you about the restoration techniques to use and whether to salvage or replace components.
2. Essential Tools and Materials for Restoration
Before embarking on your restoration journey, gather the necessary tools and materials:
- Safety Gear: Always use safety goggles and gloves when working with tools and chemicals.
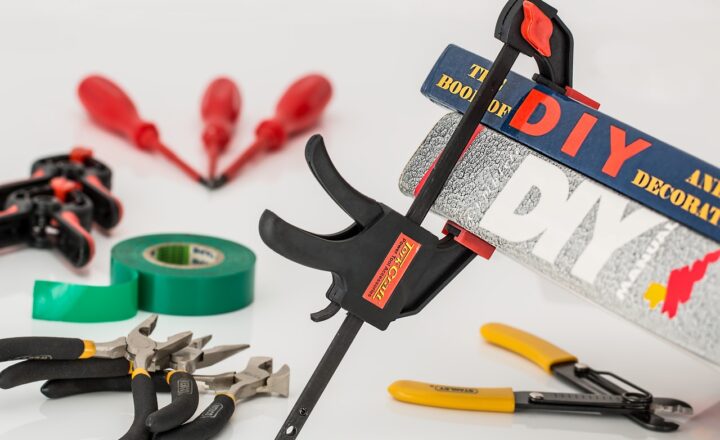
- Screwdrivers, Hammers, and Pliers: Basic hand tools for disassembling and reassembling furniture.
- Sandpaper and Sanding Block: For prepping surfaces before painting or staining.
- Paint or Wood Stain: Choose colors that match your decor. Chalk paint is trendy for its matte finish, while oil-based stains bring out wood grain.
- Clear Coat or Sealant: Protect your finished work from wear and tear.
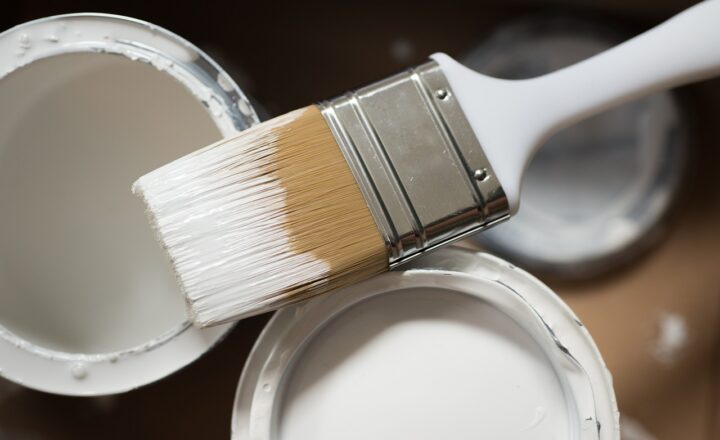
- Brushes and Rollers: Invest in good-quality brushes for smooth application of paint and stain.
- Upholstery Tools (if applicable): If you’re working on upholstered furniture, you’ll need a staple gun, fabric, and foam padding for re-upholstering.
Having the right tools at your disposal can significantly improve the process and outcome of your restoration project.
3. Step-by-Step Guide to Restoring Furniture
The restoration process can vary depending on the type of furniture and the extent of the damage, but here’s a general step-by-step guide to follow:
Step 1: Disassemble Your Furniture
Carefully take apart pieces to access all surfaces. Keep all screws and hardware in a labeled bag to avoid losing them.
Step 2: Clean and Prep
Use a damp cloth to remove dust and grime. For wooden pieces, follow up with a wood cleaner and apply a heat gun if needed to remove old paint or finishes.
Step 3: Repair Damage
Fix any loose joints with wood glue or clamps. Fill scratches or dents with wood filler, and sand smooth once dry.
Step 4: Sanding
Sand the furniture surface to create a smooth base for painting or staining. Begin with a coarse grit sandpaper, then progress to finer grits for a polished finish.
Step 5: Painting or Staining
Choose whether you want to paint or stain your piece. For a vintage look, consider using chalk paint followed by a clear wax finish, or opt for a rich wood stain that showcases the grain.
Step 6: Reassemble and Finish
Once the paint or stain has dried, reassemble your furniture. Replace any hardware, and apply a protective clear coat to ensure longevity.
4. Creative Ideas to Make Your Furniture Unique
To personalize your restored piece further, consider adding unique design elements:
- Decoupage: Use decorative paper or fabric to apply a design on the surface for a custom look.
- Stencils: Use stencils to add patterns, quotes, or images to your piece. This provides a personal touch without intricate painting skills.
- Mixed Materials: Combine wood with metal, glass, or even textile elements for a modern eclectic style.
- Upcycling Parts: Incorporate old hardware or decorative panels from other furniture to give a much-loved but outdated piece a new purpose.
Don’t be afraid to experiment; the goal is to create a piece that reflects your style while serving its functional purpose.
5. Tips for Success in Furniture Restoration
A few tips can make the restoration process smoother and the outcome more successful:
- Patience is Key: Restoration can be time-consuming, so take your time to ensure quality results.
- Research Techniques: Familiarize yourself with various DIY methods and tools available for restoration.
- Join Community Groups: Online forums or local DIY groups can provide support, ideas, and encouragement from fellow enthusiasts.
- Document Your Process: Before-and-after photos can inspire and help track your progress for future projects.
Restoration is about creating art, so enjoy the process and let your creativity shine!
Conclusion
Restoring old furniture not only revives vintage beauty but also allows you to express your personal style through creative DIY hacks. By following the steps outlined in this article, you’ll gain the skills necessary to turn any neglected piece into a cherished addition to your home. Remember to take your time, utilize your creativity, and enjoy the journey of bringing old furniture back to life. You’ll be amazed at what you can achieve with just a little effort and lots of imagination.


