Exploring Arduino for Kids and Teens: Simple Projects to Spark Creativity
November 13, 2024

Arduino is an open-source electronics platform that has taken the world by storm, especially among young learners eager to dive into the world of programming and electronics. Through hands-on projects, kids and teens can unlock their creativity while gaining essential skills in science, technology, engineering, and mathematics (STEM).
In this article, we will explore several simple Arduino projects that are perfect for kids and teens. These projects are designed to be fun, educational, and accessible, ensuring that even beginners can participate and enjoy the process.
1. What is Arduino?
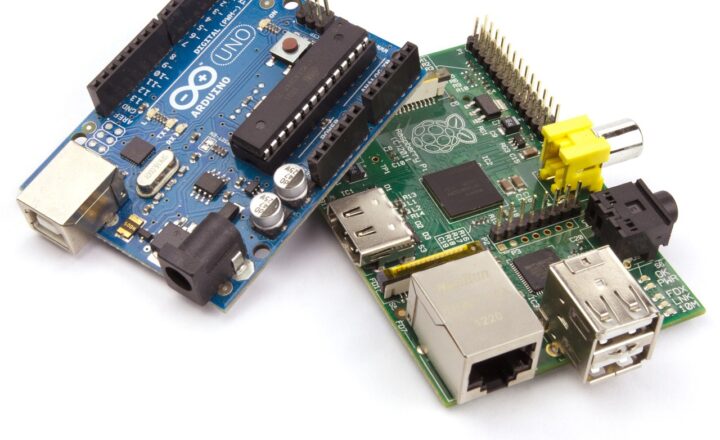
Arduino is a microcontroller board that can be programmed to interact with a variety of sensors and actuators. With Arduino, users can create interactive projects ranging from simple blinking lights to complex robotic systems.
The board connects to a computer via USB, allowing users to upload code that tells the Arduino how to operate its pins, either by reading inputs from sensors or controlling outputs to motors and LEDs. What makes Arduino particularly appealing to kids and teens is its simplicity and the vast community support available.
2. Why Learn Arduino?
Learning Arduino provides numerous benefits for young learners:
- Develops Problem-Solving Skills: Students learn how to troubleshoot and solve issues that may arise during projects, fostering critical thinking skills necessary in everyday life.
- Encourages Creativity: The open-ended nature of Arduino projects allows learners to explore their ideas and bring them to life.
- Hands-On Learning: Kids and teens engage in experiential learning, which is often more memorable and impactful than traditional educational methods.
- Collaboration Opportunities: Many projects can be completed in groups, encouraging teamwork and the sharing of ideas.
3. Basic Requirements for Arduino Projects
Before diving into specific projects, it’s essential to gather a few basic components:
- Arduino Board: Any version will work for simple projects, such as the Arduino Uno or Nano.
- USB Cable: For connecting the Arduino board to a computer.
- Breadboard and Jumper Wires: These are essential for building circuits without soldering.
- Various Sensors and Components: Depending on the projects, you may need components like LEDs, resistors, buzzers, and servo motors.
With these components in hand, learners can embark on their Arduino journey in no time.
4. Simple Arduino Projects for Kids and Teens
Let’s explore some engaging projects that kids can build and customize:
4.1 LED Blink Project
This classic beginner project involves making an LED blink using Arduino. It’s an excellent introduction to programming and circuit building.
Materials Needed:
- 1 Arduino board
- 1 LED
- 1 resistor (220 ohms)
- Breadboard and jumper wires
Steps:
1. Connect the LED to the Arduino (positive leg to digital pin 13 and negative leg to GND via a resistor).
2. Upload the Blink example code using the Arduino IDE.
3. Watch the LED blink on and off!
4.2 Temperature and Humidity Monitor
Turn your Arduino board into a simple weather station! Using a DHT11 sensor, you can measure the ambient temperature and humidity in the area.
Materials Needed:
- 1 Arduino board
- 1 DHT11 sensor
- Breadboard and jumper wires
Steps:
1. Connect the DHT11 sensor to the Arduino (data pin to digital pin 2).
2. Use the DHT library for Arduino to write a simple code that reads and displays the temperature and humidity.
3. Upload the code and monitor the readings on your serial monitor.
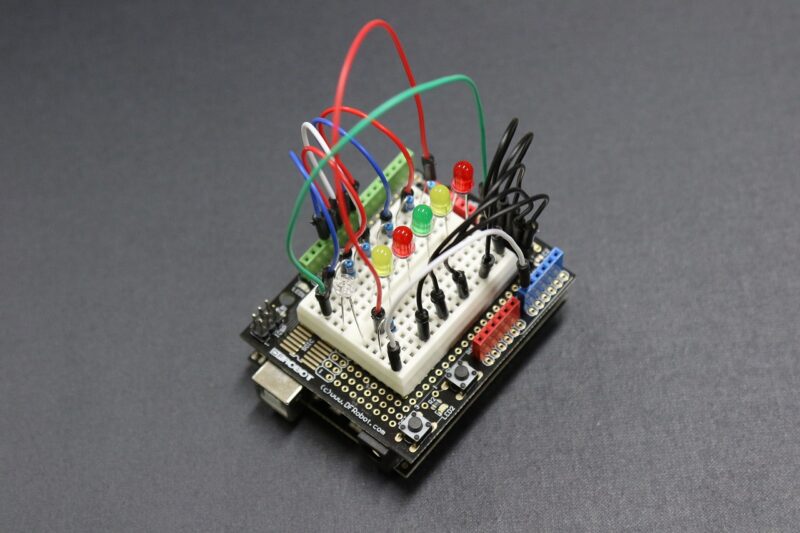
4.3 Simple Traffic Light System
Create a mini traffic light using three LEDs to learn about control structures and timing in programming.
Materials Needed:
- 1 Arduino board
- 3 LEDs (red, yellow, green)
- 3 resistors (220 ohms)
- Breadboard and jumper wires
Steps:
1. Connect the LEDs to the Arduino (red to digital pin 8, yellow to pin 9, and green to pin 10).
2. Write code that illuminates the LEDs in the order of a real traffic light: Red -> Green -> Yellow -> Red.
3. Upload the code and watch your traffic light cycle!
5. Tips for Success
To make the most of your Arduino projects:
- Start Small: Begin with simple projects to build confidence before tackling more complex ones.
- Join a Community: Engage with online forums or local maker spaces for support and inspiration.
- Encourage Experimentation: Remind young learners that mistakes are part of the process; encourage them to try new ideas!
Conclusion
Exploring Arduino through simple projects fosters creativity, enhances problem-solving skills, and provides a foundation in STEM disciplines. As kids and teens embark on their Arduino journey, they not only learn valuable technical skills but also develop the confidence to innovate and create. So, gather your materials and start building today! The possibilities are endless with Arduino at your fingertips.


