A Beginner’s Guide to Arduino Coding: Making Electronics Programming Easy
November 13, 2024

Arduino has become one of the most popular platforms for learning coding and electronics, making it accessible to beginners and hobbyists alike. Whether you’re looking to create simple projects or embark on complex inventions, understanding Arduino coding can be a game-changer in your maker journey. This guide is designed to take you through the essentials of Arduino coding, providing you with the knowledge you need to initiate your adventures in electronics.
1. What is Arduino?
Arduino is an open-source electronics platform based on easy-to-use hardware and software. It consists of a microcontroller board that can be programmed to interact with the physical world, allowing you to create interactive objects and environments. The Arduino ecosystem also includes the Arduino IDE (Integrated Development Environment) where you write code and upload it to the board.
Some key features of the Arduino platform include:
- Open Source: Both the hardware and software designs are available for anyone to use and adapt.
- User-Friendly IDE: The Arduino IDE is designed to make coding simple and approachable, especially for beginners.
- Wide Community Support: A large community of makers and developers share projects, tutorials, and libraries that can enhance your learning experience.
Arduino is ideal for prototyping, and it’s often used in projects such as robotics, home automation, and art installations.
2. Getting Started with Arduino
To begin your Arduino journey, you will need a few essential components:
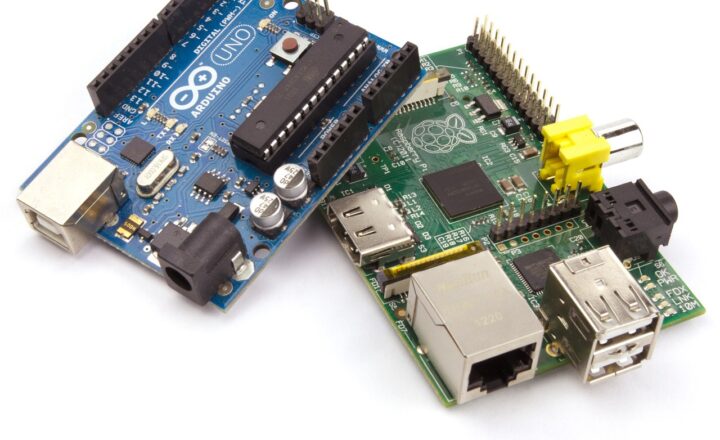
- Arduino Board: Common choices include Arduino Uno, Mega, and Nano, with the Uno being particularly recommended for beginners.
- USB Cable: Used to connect your Arduino board to your computer for programming and power supply.
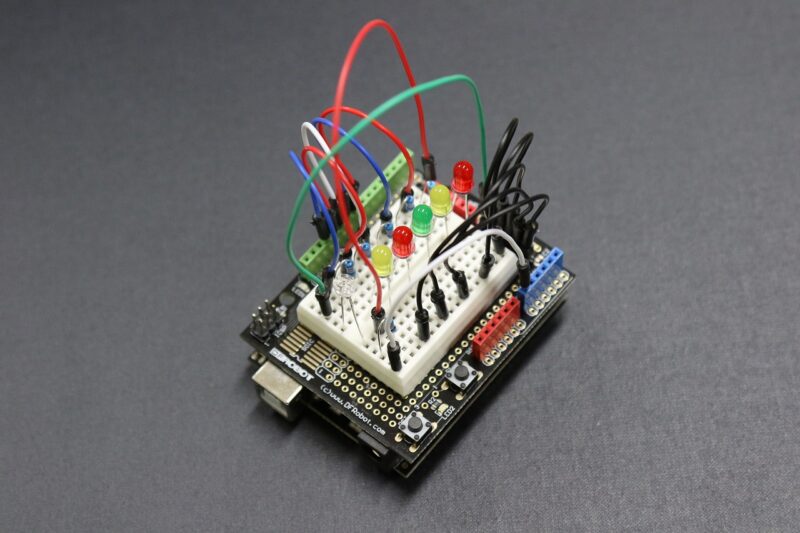
- Breadboard and Jumper Wires: These components help connect different electronic components without soldering, allowing for easy prototyping.
- LEDs, Resistors, and Sensors: Basic components for your initial projects to learn about inputs and outputs in coding.
Once you have your components, download the Arduino IDE from the official website and install it on your computer.
3. Understanding the Arduino IDE
Once you’ve set up your Arduino IDE, familiarize yourself with its layout and features. The IDE includes:
- Code Window: This is where you will write and edit your Arduino code.
- Message Area: Displays messages related to your code compilation and board connection status.
- Toolbar: Contains buttons for verifying, uploading, and controlling your code uploads and board settings.
The Arduino programming language is based on C/C++, which allows for a high degree of control over hardware features. It abstracts many of the complexities of these languages, making it easier for newbies to grasp. Basic elements of the language include:
- Variables: Storage for data, defined with a data type (e.g., int for integers, float for floating points).
- Functions: Blocks of code that perform specific tasks. Familiar functions include setup() and loop().
- Control Structures: Logic statements like if/else and loops (for, while) to control the flow of your program.
4. Writing Your First Program
Let’s create a simple program to blink an LED connected to your Arduino board. Follow these steps:
1. Wiring the LED: Connect the longer leg (anode) of the LED to a digital pin (e.g., pin 13) on the Arduino, and connect the shorter leg (cathode) to a resistor (220 Ohm), which then connects to the ground (GND).
2. Writing Code: Open the IDE and enter the following code:
“`cpp
void setup() {
pinMode(13, OUTPUT); // Set pin 13 as an output
}
void loop() {
digitalWrite(13, HIGH); // Turn the LED on
delay(1000); // Wait for a second
digitalWrite(13, LOW); // Turn the LED off
delay(1000); // Wait for a second
}
“`
3. Upload the Program: Click the checkmark (✓) on the toolbar to verify your code and then click the right arrow to upload it to your Arduino board.
Once uploaded, the LED should start blinking on and off every second!
5. Expanding Your Skills
As you become comfortable with Arduino coding, consider exploring the following concepts to expand your skills:
- Using Libraries: Libraries add extra functionality to your projects. Explore existing libraries to control sensors, motors, or displays easily.
- Interfacing with Sensors: Learn how to read data from different sensors (temperature, humidity, motion) to create even more interactive projects.
- Building Complex Projects: Combine various components and create more complex projects like home automation systems or simple robots.
- Joining Maker Communities: Engage with other makers online through platforms like forums, Maker Spaces, or local meetups for inspiration and help.
Experimentation is key to mastering Arduino coding, so don’t hesitate to try new ideas and learn from your mistakes.
6. Conclusion
Arduino coding is a powerful skill that opens up a world of possibilities in electronics and programming. With the right tools and knowledge, you can turn your creative ideas into reality. Don’t be discouraged if things don’t work on the first try; every coder experiences setbacks. The key is persistence and a willingness to learn.
Now that you have the basics, go forth and start coding with Arduino! The next generation of creators and innovators awaits your inventions.


